
Hexo配合GithubAction自动化部署个人博客
关于自动化部署个人博客
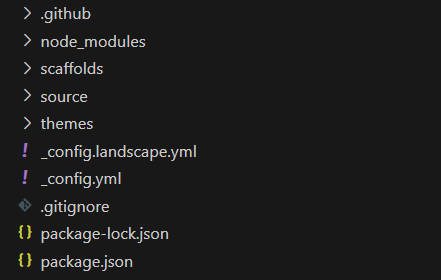
建一个文件夹初始化
hexo1
2
3npm install -g hexo-cli
hexo init # 就是这一步,会出现yaml文件和文件夹,如果后面加一个文件夹名字,就会生成一个文件夹并放这些东西
npm install初始化仓库
直接将这些yaml和文件夹推送到github仓库main分支1
2
3
4git remote add origin https://github.com/ByteQuestor/ByteQuestor.github.io.git
git add .
git commit -m "Init"
git push origin master:main # 新版的直接main即可
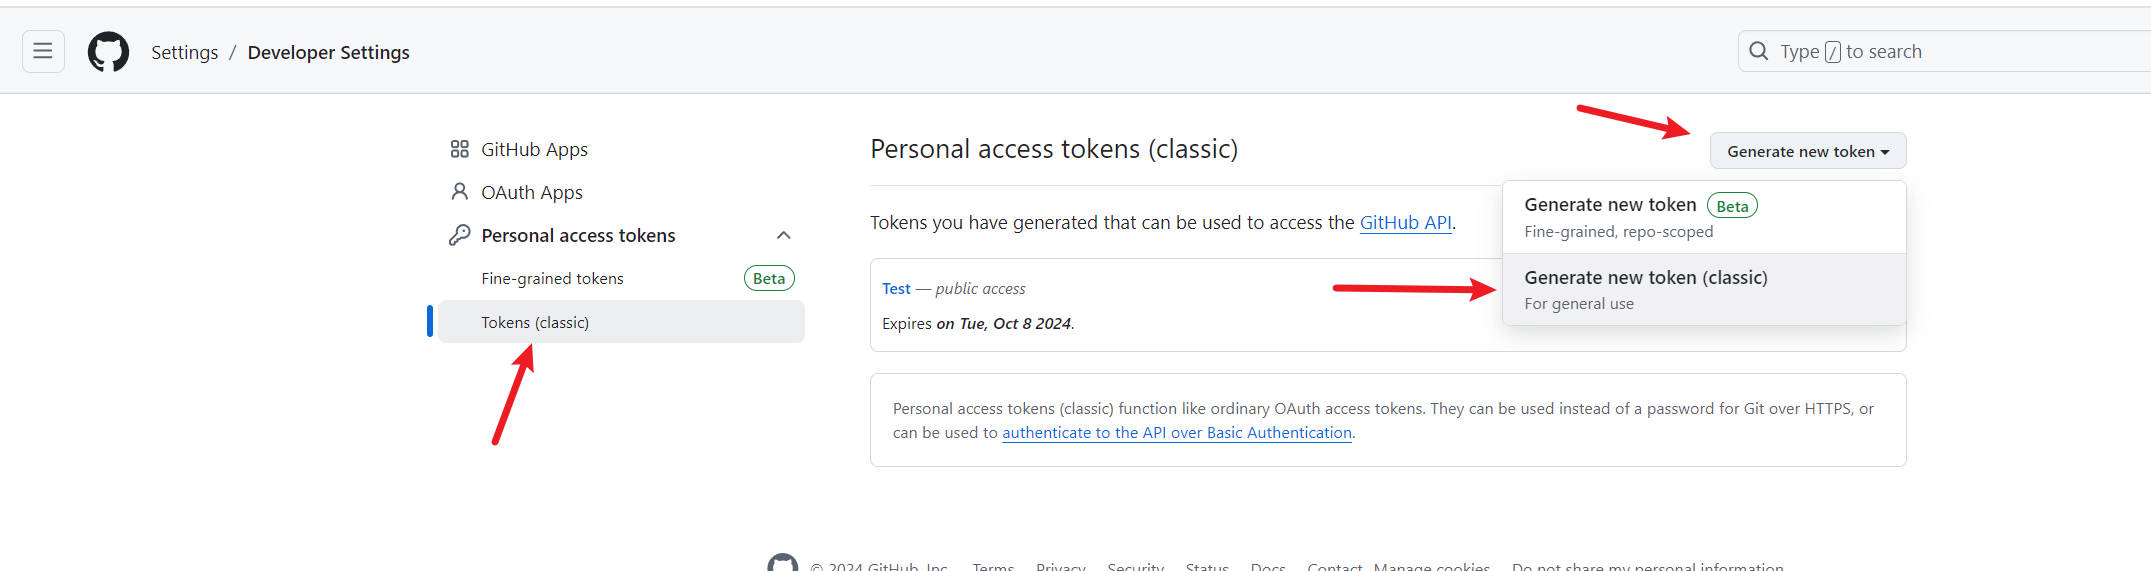
创建
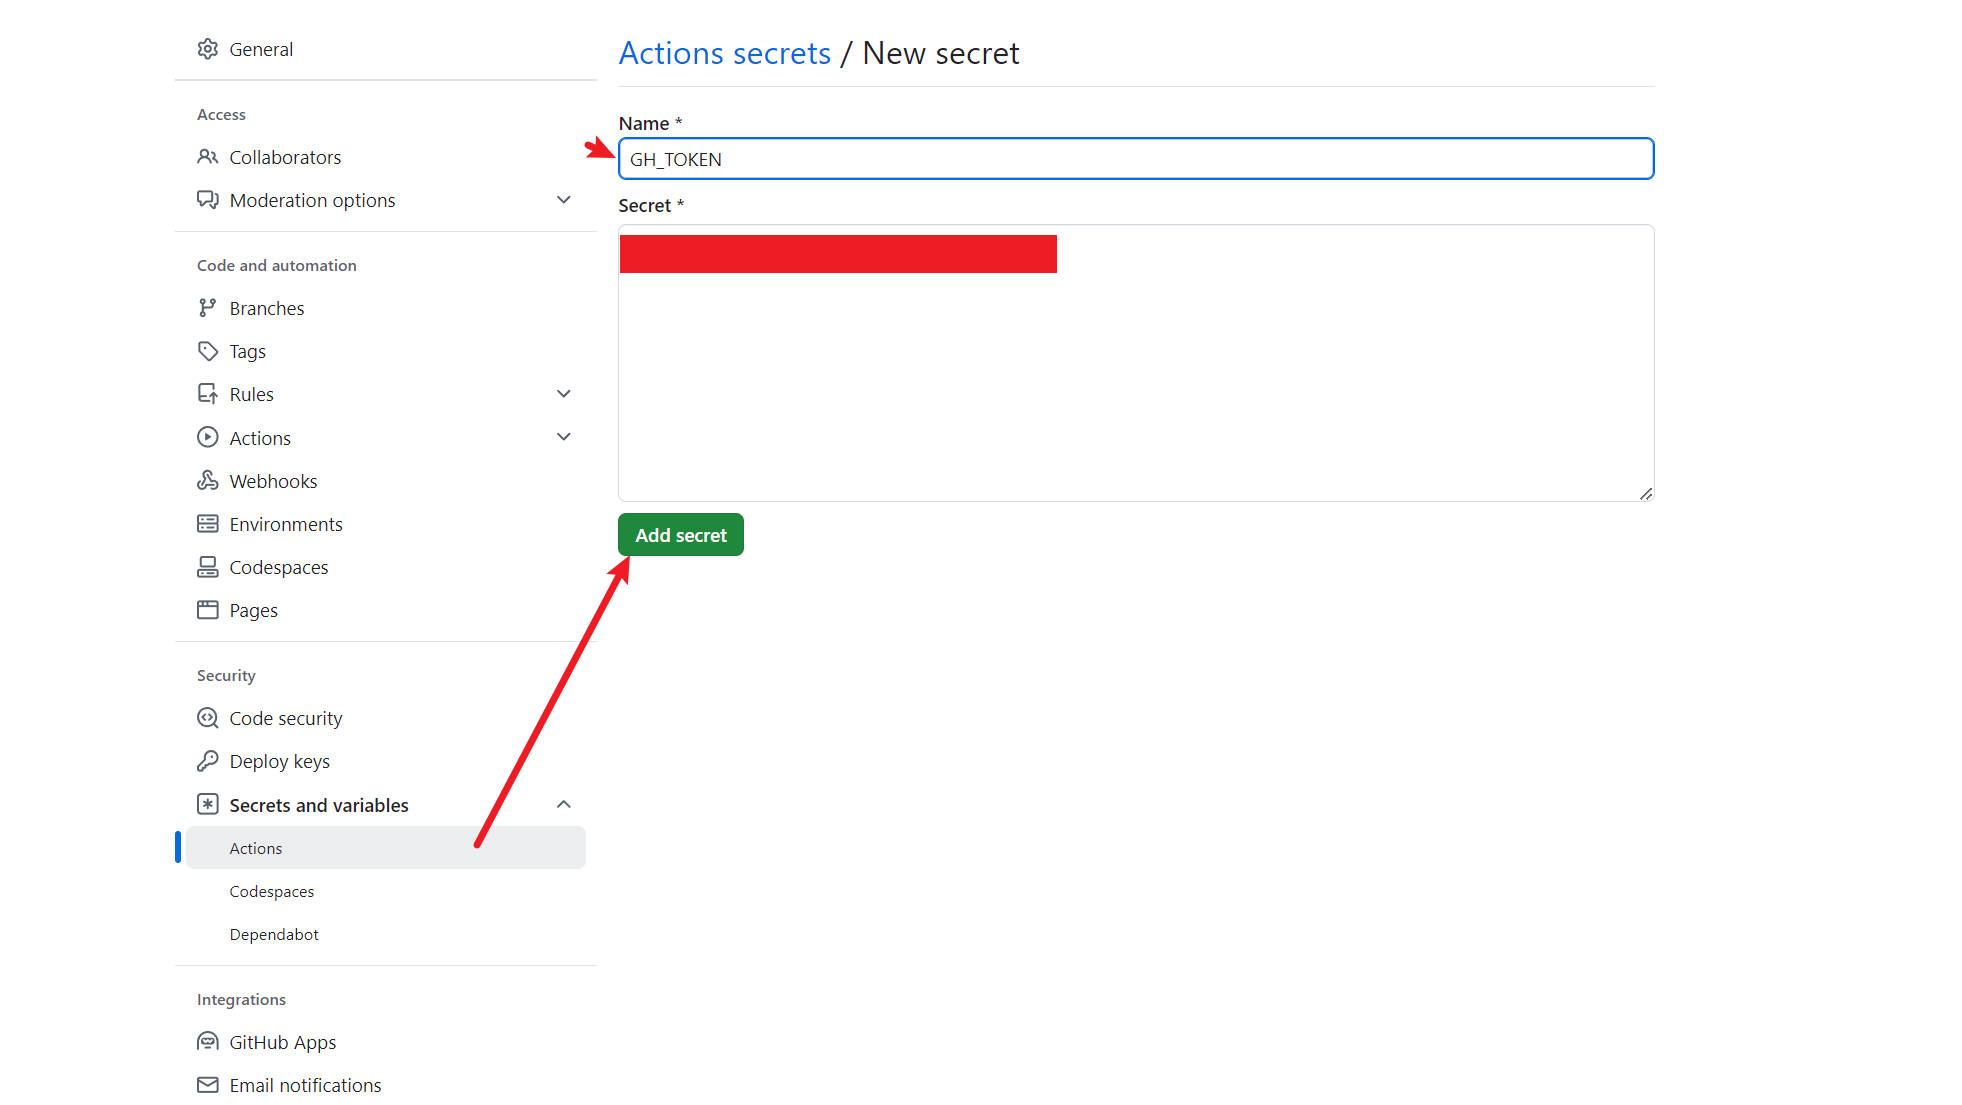
token
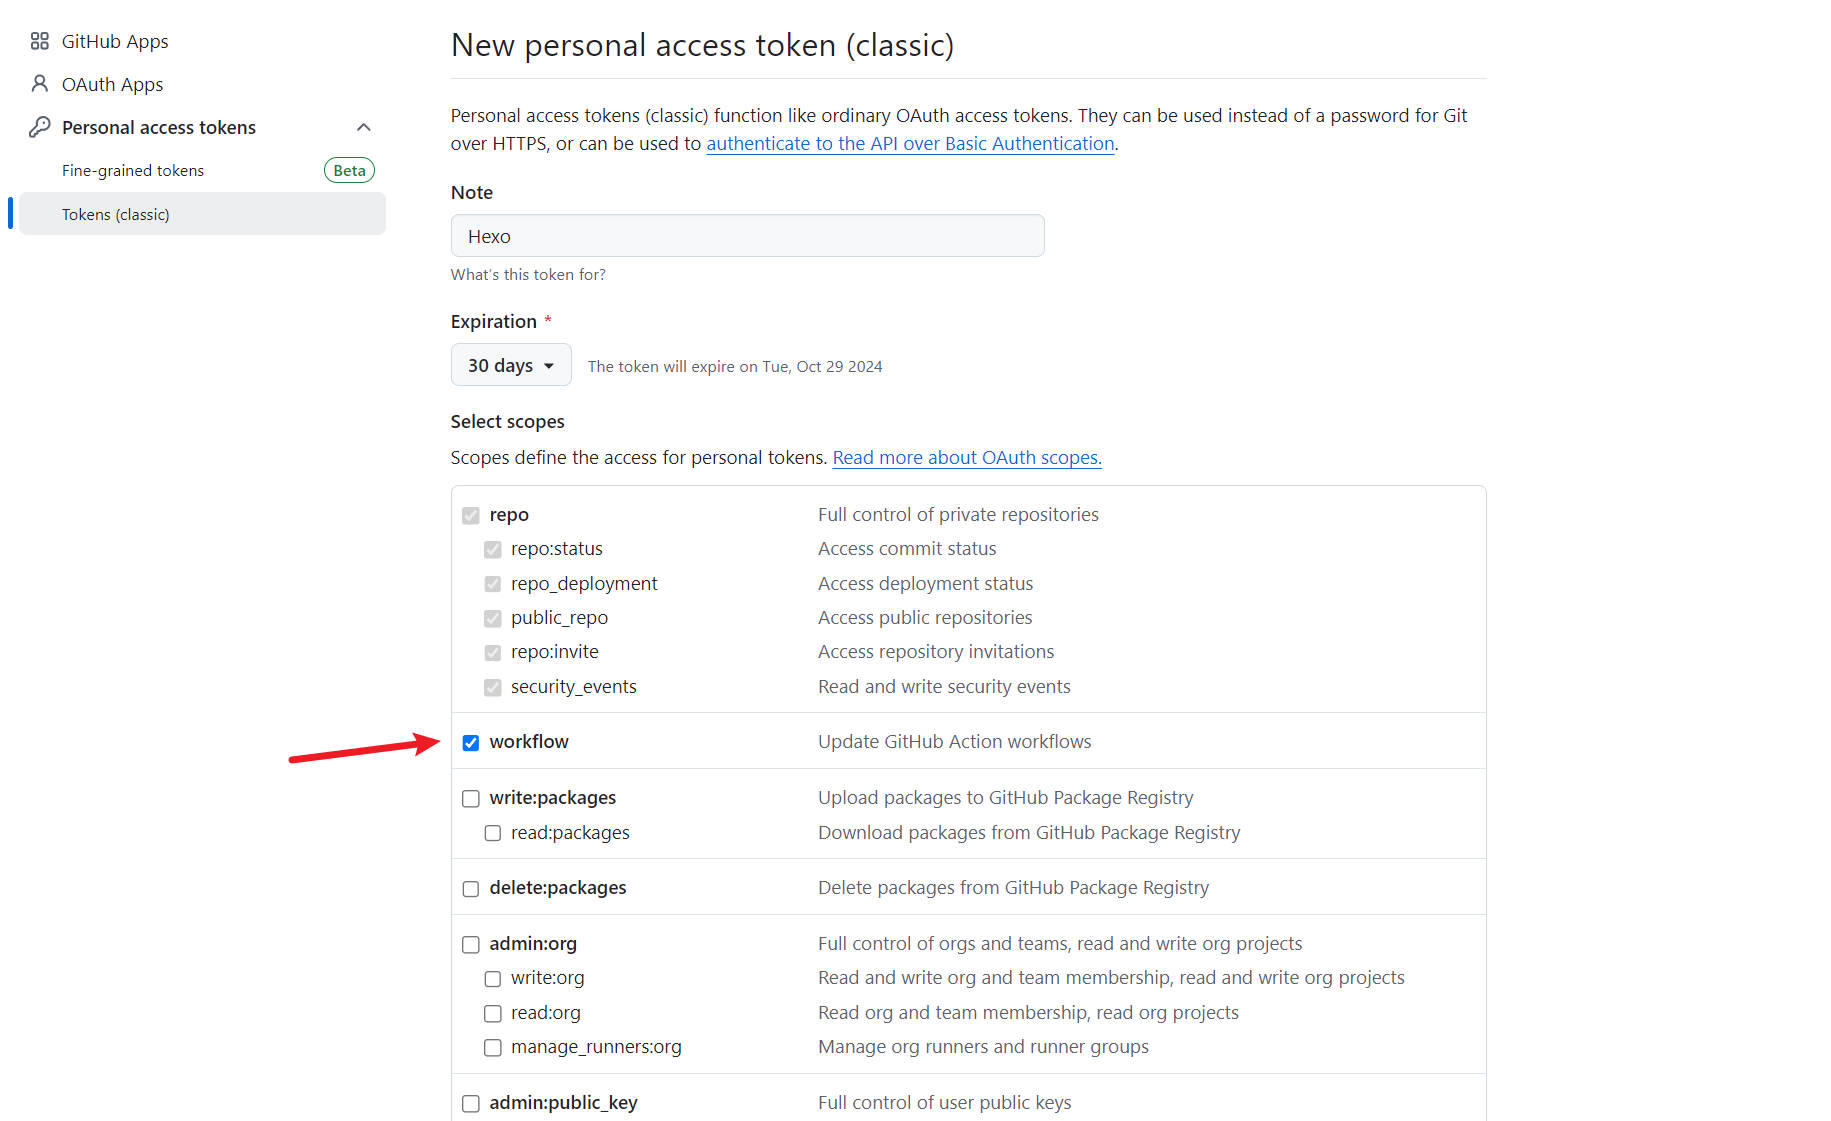
在个人设置中新增Personal access tokens,要包含repo权限,这个token是给Github Action用的,Github会把hexo编译部署到gh-pages分支
注意不是仓库的setting,而是账户的setting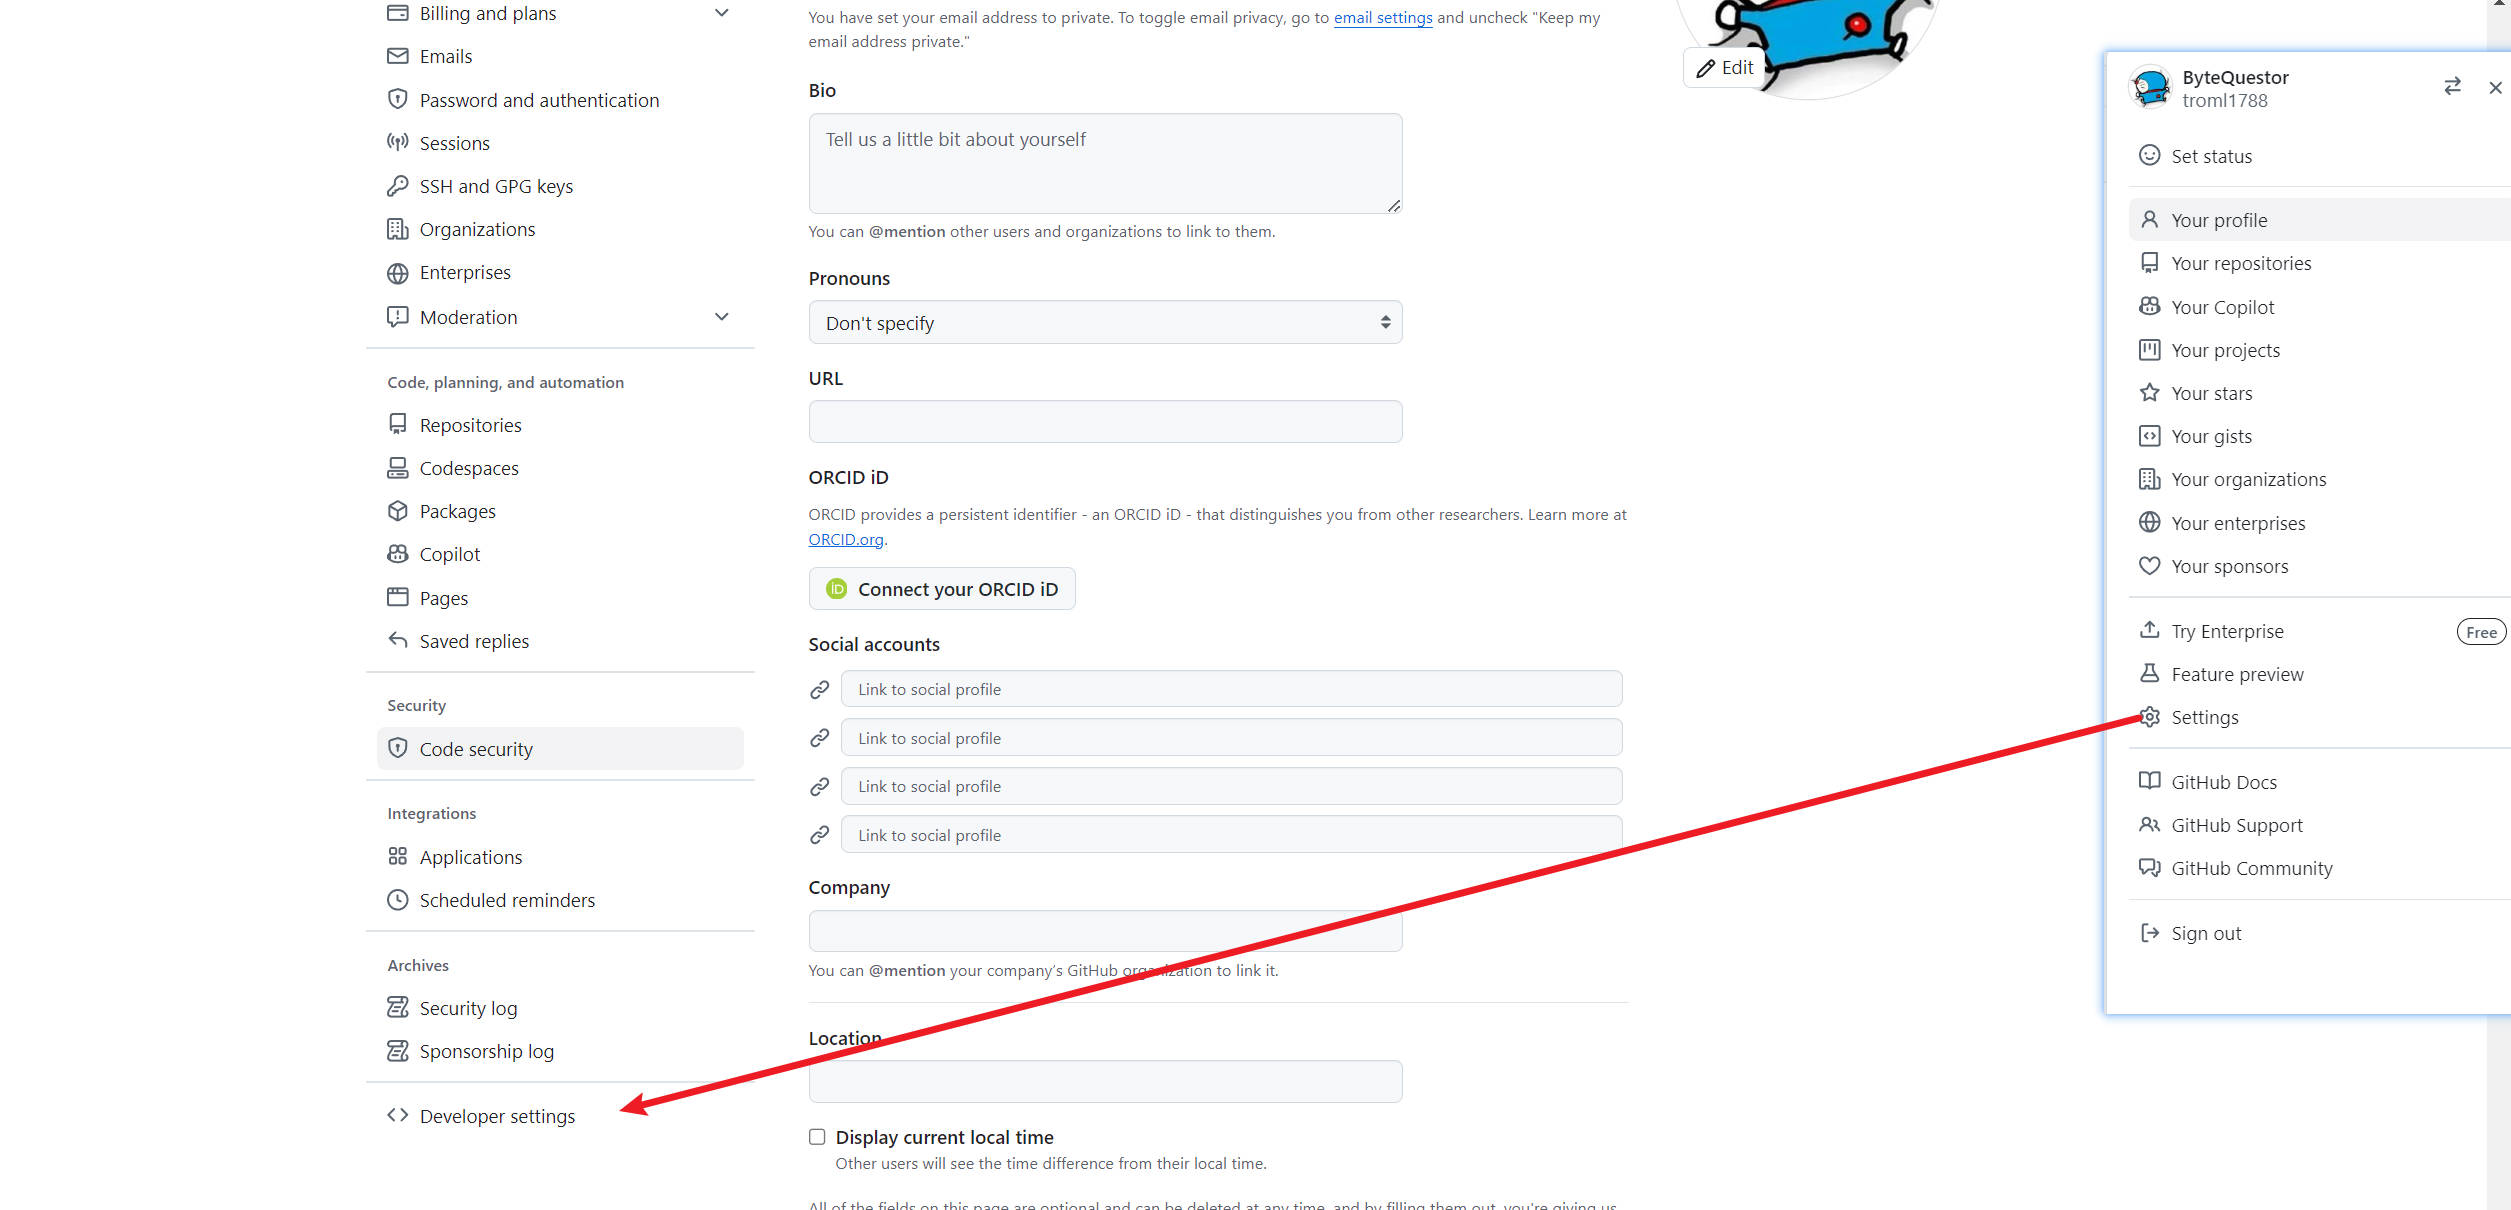
然后去代码仓库把这个token新增
更改
hexo配置文件(如果之前部署过,直接把yaml文件复制过来更方便)1
2
3
4deploy:
type: git
repo: https://github.com/ByteQuestor/ByteQuestor.github.io.git
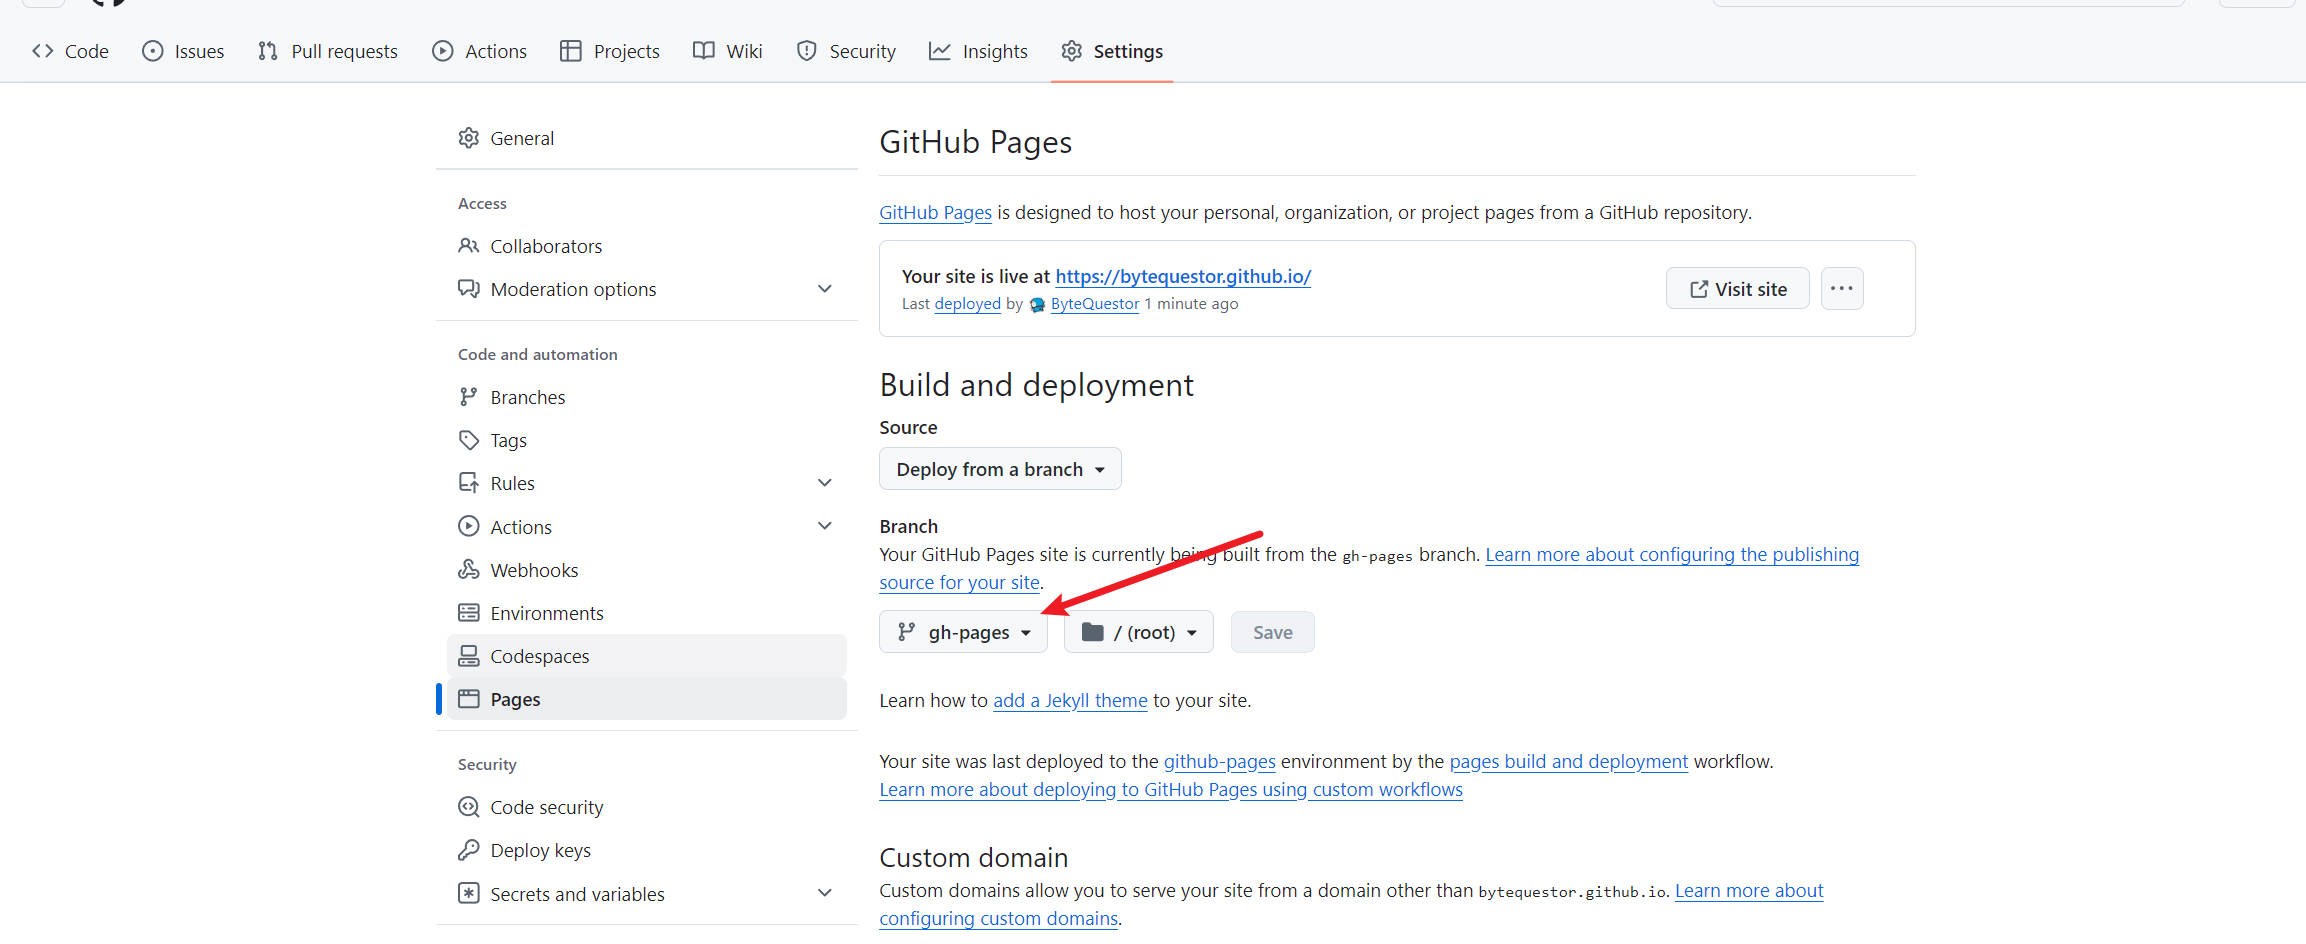
branch: gh-pages配置
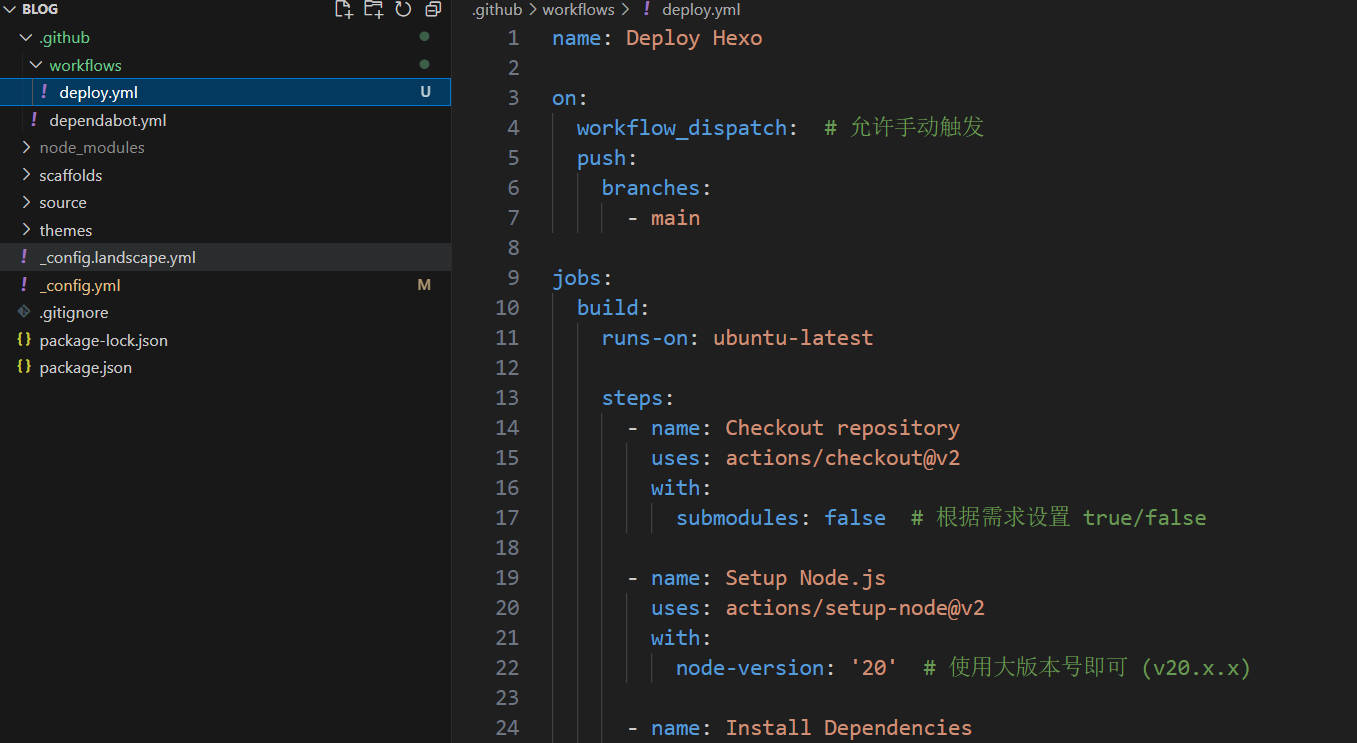
Github Action工作流node-version要和本地的node版本一致
用ununtu-latest作为基础环境,然后按照各种依赖,随后hexo generate生成博客网站静态文件,把这个文件夹推送到同一仓库的gh-pages分支
首先在.github下创建一个workflows文件夹和deploy.yml,写入如下内容1
2
3
4
5
6
7
8
9
10
11
12
13
14
15
16
17
18
19
20
21
22
23
24
25
26
27
28
29
30
31
32
33
34
35
36
37
38
39
40
41
42
43
44
45
46
47
48
49
50
51name: Deploy Hexo
on:
workflow_dispatch: # 允许手动触发
push:
branches:
- main
jobs:
build:
runs-on: ubuntu-latest
steps:
- name: Checkout repository
uses: actions/checkout@v2
with:
submodules: true # 根据需求设置 true/false
- name: Setup Node.js
uses: actions/setup-node@v2
with:
node-version: '20' # 使用大版本号即可 (v20.x.x)
- name: Install Dependencies
run: npm install
- name: Install Hexo git Deployer
run: |
npm install hexo-deployer-git --save
npm install hexo-cli -g
- name: Clean and Generate Static Files
run: |
hexo clean
hexo generate
- name: Configure Git
run: |
git config --global user.name 'github-action[bot]'
git config --global user.email 'github-actions[bot]@users.noreply.github.com'
- name: Deploy to Github Pages
env:
GH_TOKEN: ${{ secrets.GH_TOKEN }}
run: |
cd public/
git init
git add -A
git commit -m "Deploy to GitHub Pages"
git remote add origin https://${{ secrets.GH_TOKEN }}@github.com/ByteQuestor/ByteQuestor.github.io.git
git push origin HEAD:gh-pages -f推送验证
1
2
3git add .
git commit -m "Init"
git push origin master:main # 新版的直接main即可
选择一个喜欢的主题,根据主题需要的环境进行配置
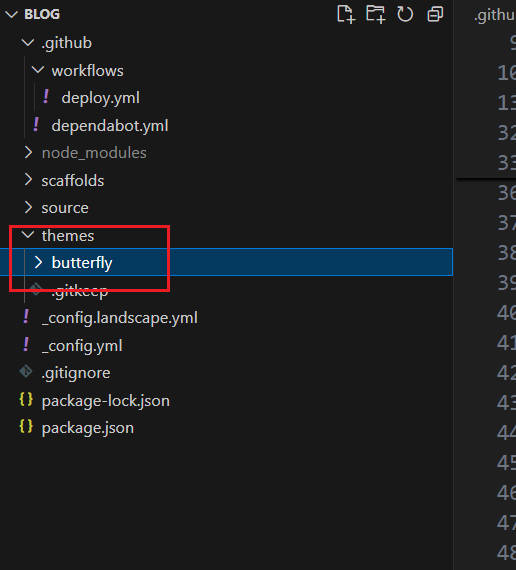
以butterfly为例,直接在hexo目录下克隆1
2git submodule add https://github.com/jerryc127/hexo-theme-butterfly.git themes/butterfly
git submodule update --init --recursive安装依赖和渲染器
1
npm install hexo-renderer-pug hexo-renderer-stylus --save
在hexo的
_config.yaml配置主题
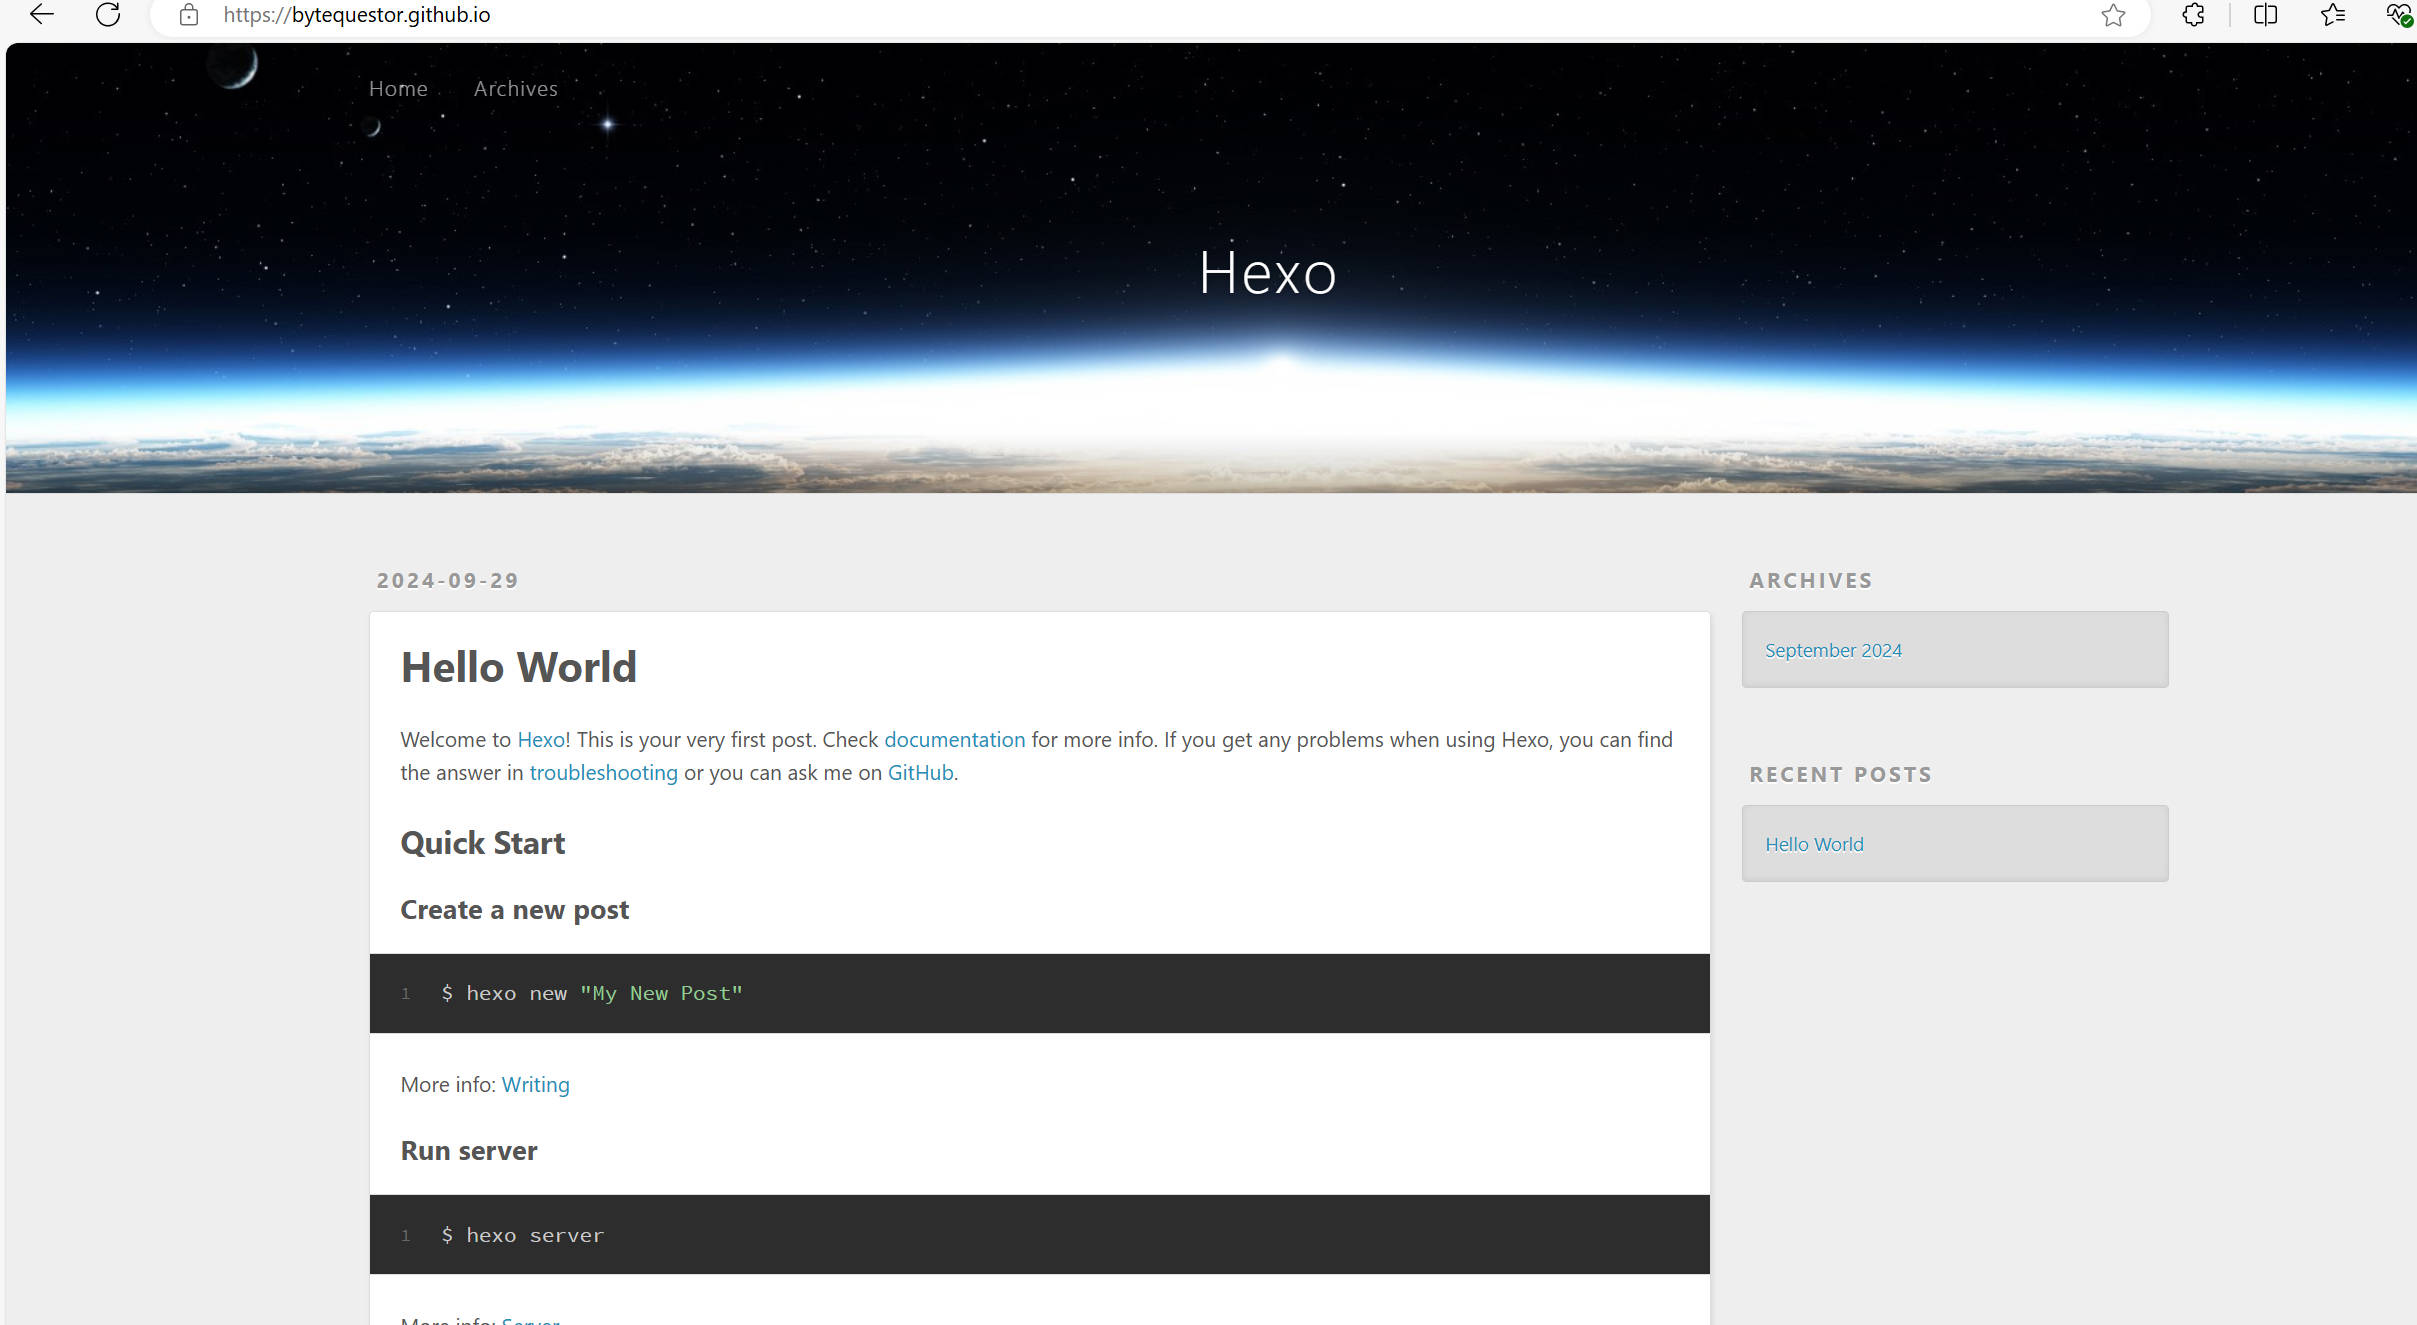
推送上去查看效果(我是直接复制的之前的yaml,因此直接是成品效果,从头开始需要按照主题的教程来)
1
2
3
git add .
git commit -m "Init"
git push origin master:main # 新版的直接main即可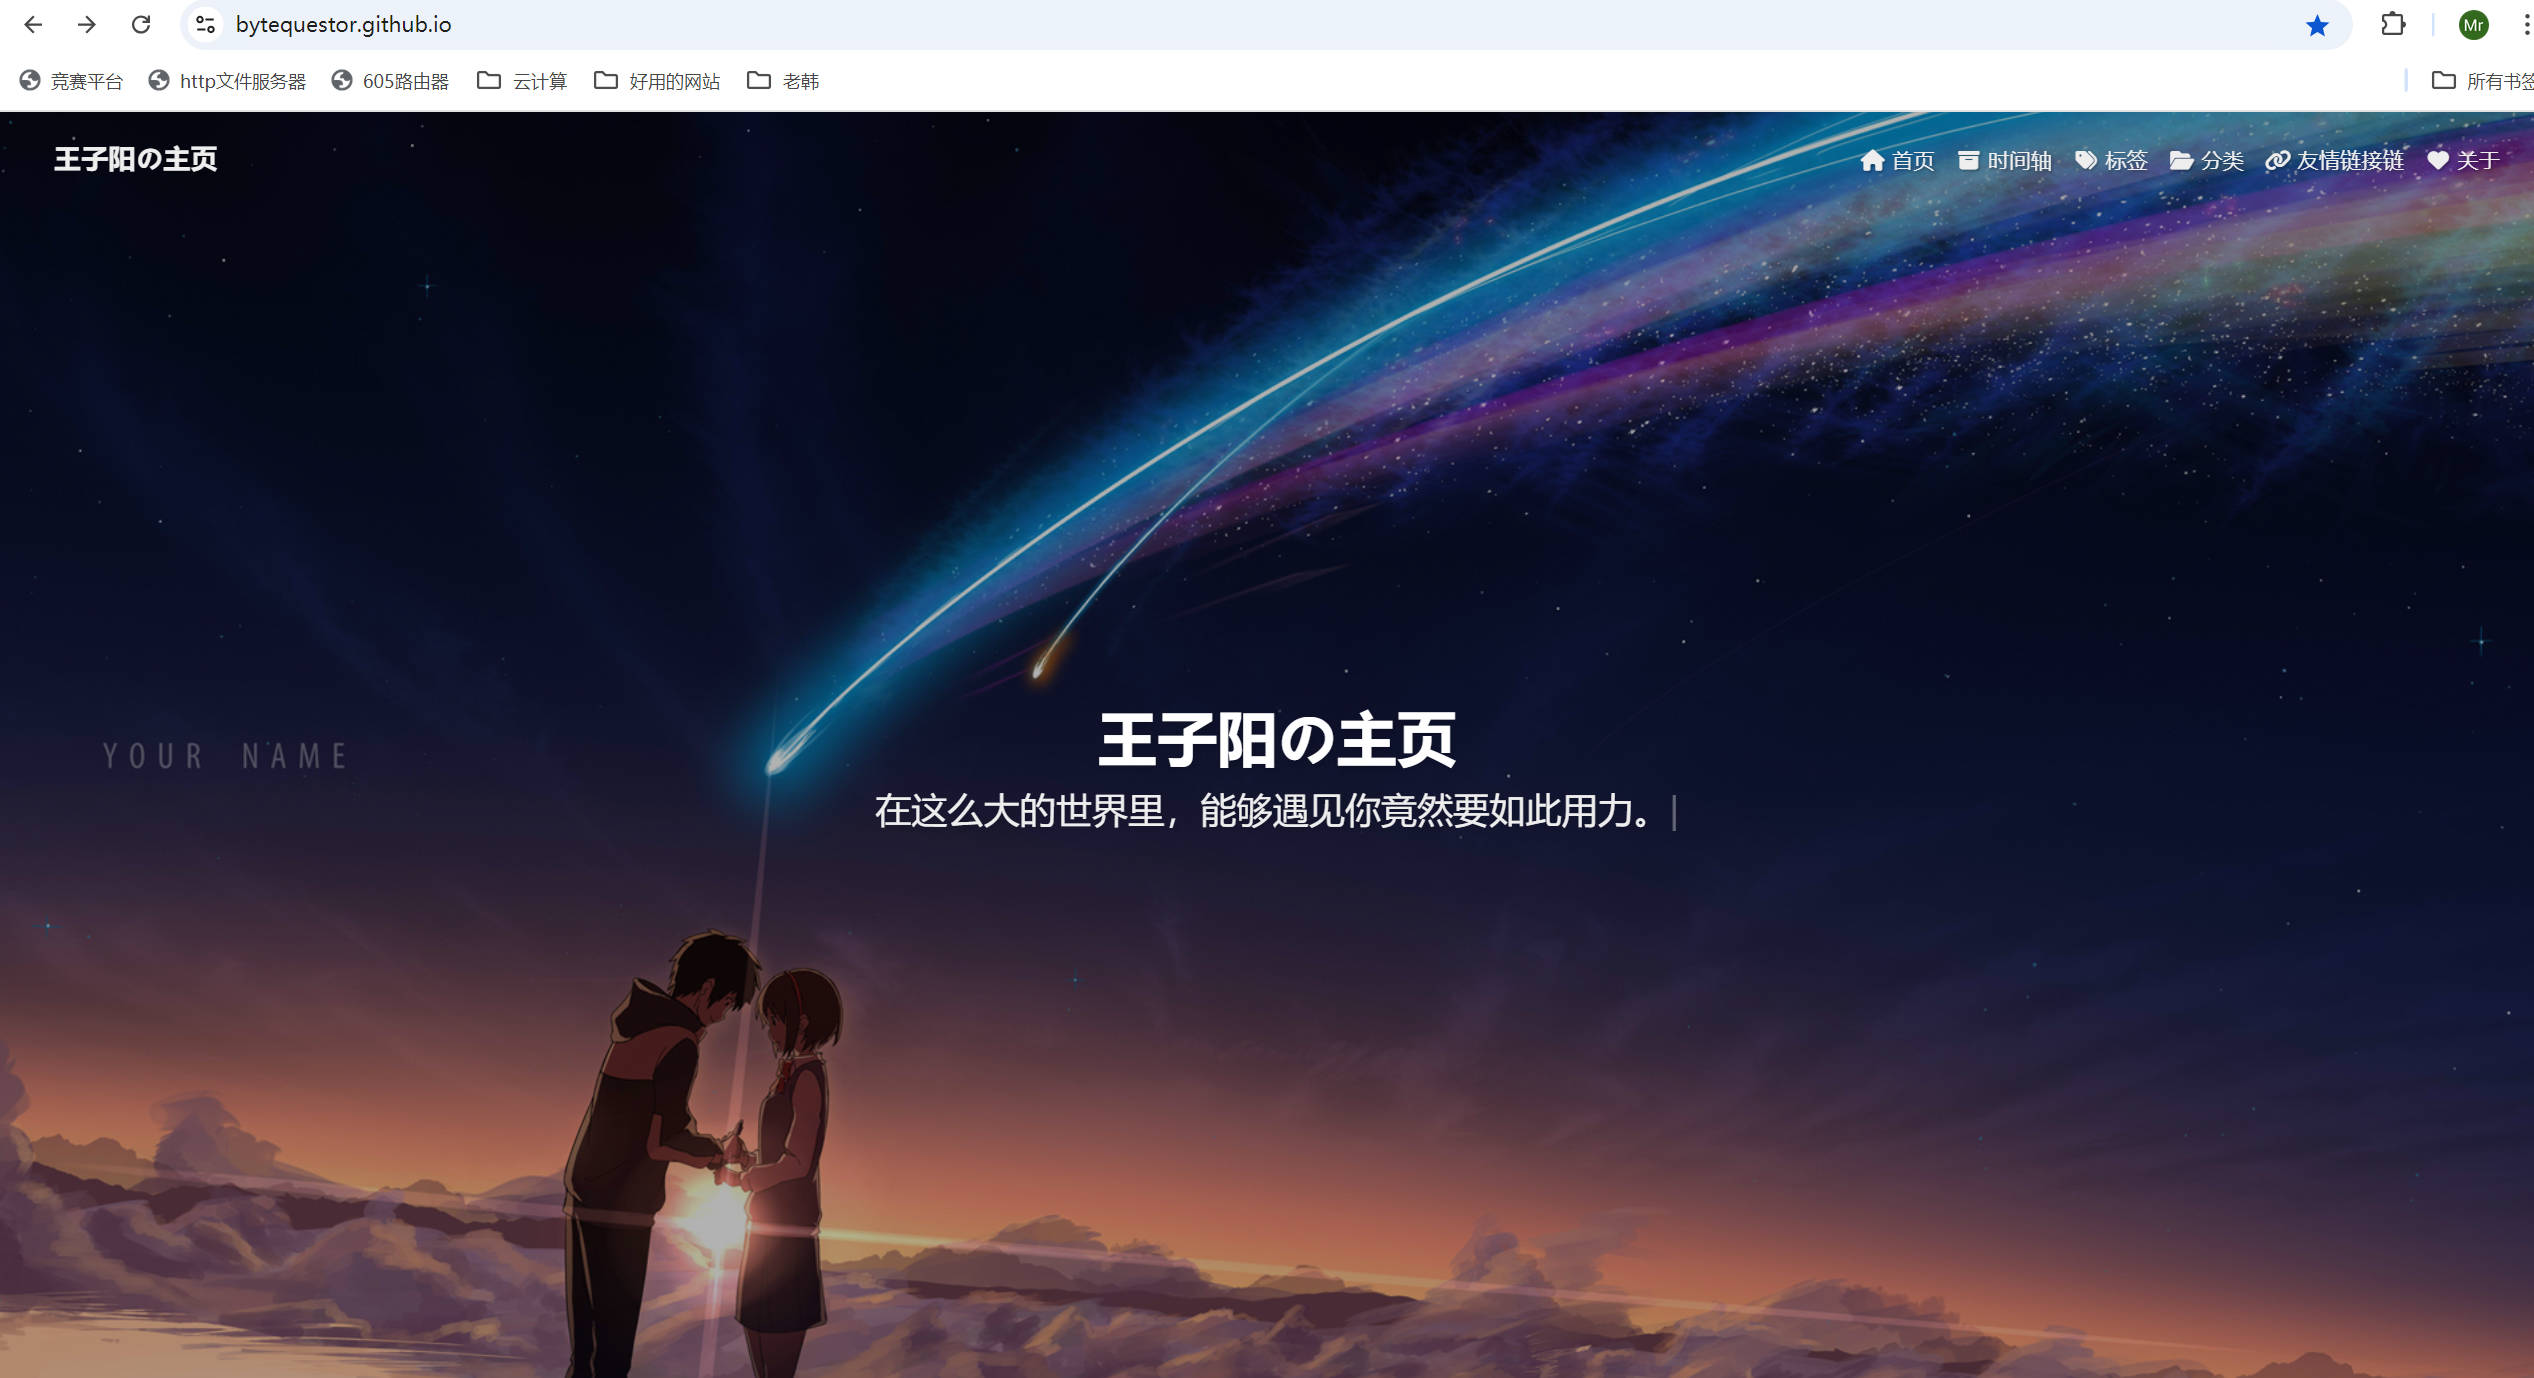
这样做的目的:
如果需要换电脑或者其他操作,只需要克隆main分支和即可,而且平时写博客也可以直接想main推送文章,进而实现自动化部署
本博客所有文章除特别声明外,均采用 CC BY-NC-SA 4.0 许可协议。转载请注明来源 王子阳の主页!
 微信投喂
微信投喂 支付宝投喂
支付宝投喂